Redes sociales

Gambrel Roof Shed Plans Blueprints - Information To Think of While Crafting A Storage Shed


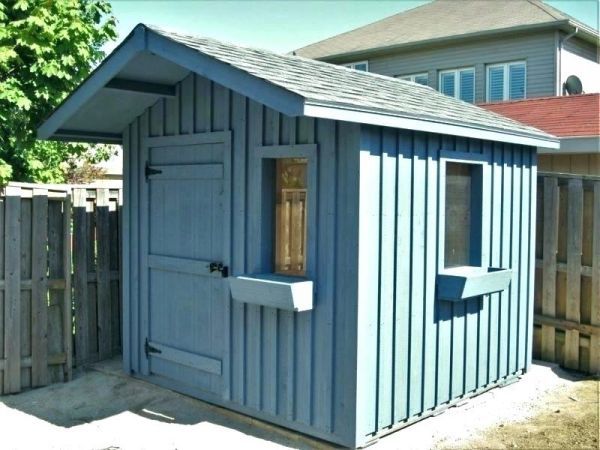
Condensation in your outhouse can reduce the length of time your structure lasts. The growth of mold and mildew is encouraged by too much moisture around your outhouse. The easiest way to guard against decay is to make sure there is plenty of air movement around your outhouse. According to wooden outbuilding drawings the lowest wood member should be built a minimum of 6 inches from the compacted ground. Air will have plenty of space under the outbuilding to dry condensation and save the floor. There should be a minimum of 3 feet of open space around (https://sheddrafts.com/8x8-gambrel-roof-shed-plans-blueprints) the four sides of your outbuilding. outbuildings will remain damp if they are built in the shadows of trees and bushes. Without the shadow of trees over the outhouse you will also permit sunlight to destroy any moist environment. Having clearance area around the outhouse also makes it easier to clean and make repairs.


 If you have a small space to work with try installing vents to help with air flow. Midsize outbuildings work well with affordable and long lasting shingles. You can expect your roofing to survive a minimum of 30 years. Using a staple gun attach a piece of 1-inch felt over any rafters. To install shingles simply follow the pattern according to your garden outhouse drawings. Use nails to fasten every shingle to your plywood frame. If you get really into it you could even use tar to fasten the shingles. Once the shingles go past the edge of the roof it will be time to cut them back. Bend the shingles over the top in an overlapping manner. This method yields the most durable and long lasting roof. Buy the thickest shingles you can find if you want to invest a little extra in making your roof durable.


Building a 10x12 Shed - Part 2: Excavation for slab.

Procesando video...


There is a common misconception that putting together permits are only required for outbuilding construction drawings larger than 100 sq. feet. Many towns ask that you request (check out your url) and receive special permits for putting together your outbuilding before you even begin. It is important to get a proper permit so that you will not be forced to disassemble your outbuilding if it isn’t to code. A town inspector for buildings should be able to help you before you start construction. If you show an inspector your blueprints first he can visit the proposed site and answer any questions. A constructing assessor is usually well-versed in work materials and can make specific recommendation for your project. Most importantly the creating examiner will ensure that you will avoid having to correct any structural violations. Town officials also need to approve the site to ensure it isn’t sitting on wetlands or any other controversial areas. Once you obtain a permit from your city you will be guaranteed that you will never have to relocate your completed shed. Call your local setting up department for any specific information you need about your town’s rules. 


 Use a long-sleeved shirt and safety glasses when you work with any kind of insulation. Measure the shed’s interior walls from the footer boards up to the header boards. Treated plastic liners have other uses but typically act as an insulating barrier against air. Consider including elastic insulation in the diy outbuilding assembly blueprints because of its low cost. Drafts of cold air from outside will have a harder time entering the outhouse once the barrier is in place. To install you simply need to wrap sheets of the air barrier around the interior walls of the outhouse and tack in place. If your shed plans ask for more insulation and padding the airflow barrier works well as a foundation. Fiberglass is the most commonly used insulation material you can find and is a great vapor barrier. Cover the fiberglass with more wall material once it has been laid against the wall. You can conceal the insulation with painted drywall sheets secured with 1-inch drywall screws.