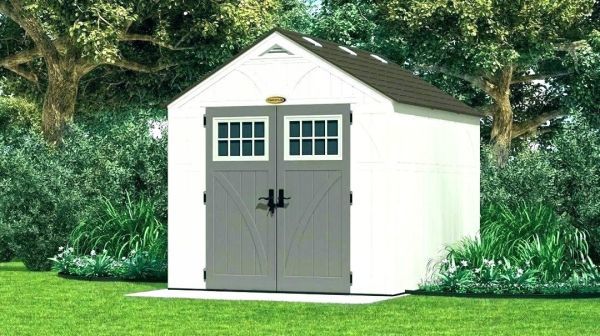
4x6 Shed Plans - Information To Be aware of While Creating A Outdoor Shed
Use a long-sleeved shirt and safety glasses when you work with any kind of insulation. You must start by measuring the interior height of your walls. One type of insulation is a sheet of treated plastic commonly known as an air barrier. Use plastic insulation as an inexpensive and easy way to provide insulation in your outhouse. The air barrier material helps keep air outside where it belongs and keeps the internal temperatures steady. Layer and overlap the plastic air barrier on the walls in the outhouse fastening as you go. Place whatever kind of siding the outdoor outbuilding crafting (https://sheddrafts.com/4x6-lean-to-roof-tool-shed-plans-blueprints) diagrams call for to use atop of the air barrier. Fiberglass is the most commonly used insulation material you can find and is a great vapor barrier. Cover the fiberglass with more wall material once it has been laid against the wall. Drywall works well as a fiberglass cover and can also be easily painted. In order to provide support for your roof and floor it is necessary to build correct framing. To build a wall frame you will need 2x4 pieces of wood and either nails or screws.
For one wall you will need 4 pieces of wood cut to your desired length and height. Forming a frame is easy once you attach all the cut wood sections together with fasteners. The key to easily framing the exterior outhouse walls is to make sure the walls are square and level. Your frame is best supported by filling it with 2X4s every couple of feet. In order to decrease weakness in your outhouse’s frame you can add flat sections of wood flush against the frame. Once completed with the back wall turn it over and you will be ready to mount it. Continue to square each frame as you build the last three walls. Once the back wall has been affixed you can raise all 4 exterior walls. Many people are wrong when they assume that you only need a permit for large outbuilding blueprints. Many towns ask that you request and receive (click here to read) special permits for building your shed before you even begin. If you build a outbuilding on your property without first obtaining a permit you may have to dismantle it later. The building assessor can be very helpful and a wealth of information about your town’s putting together codes.